At the end of January, I started playing with OpenClaw (née Clawdbot when I started using it). And very quickly, I realized that we might finally be able to build CofounderGPT using this technology!
To make a long story short, we failed miserably. Or more appropriately, I failed miserably. Slobodan already knew we needed to wait more for the technology to evolve.
So today's article is more focused on the second iteration of CofounderGPT, which is actually my third time setting up OpenClaw in the last 40 days. I stepped in a lot of shit during those 40 days, and I've learned a lot about what to do and what not to do.
This article is intended for semi-technical folks who want to give OpenClaw a try but have no idea how to set it up and what to set up on it. It's not intended to be a step by step tutorial, here is a step-by-step tutorial if that's what you're looking for:
This article is a set of notes on why I made certain decisions in my second attempt to set up CofounderGPT. But if you don't know your way around a terminal, this will be too technical.
With that out of the way, let's talk about OpenClaw.
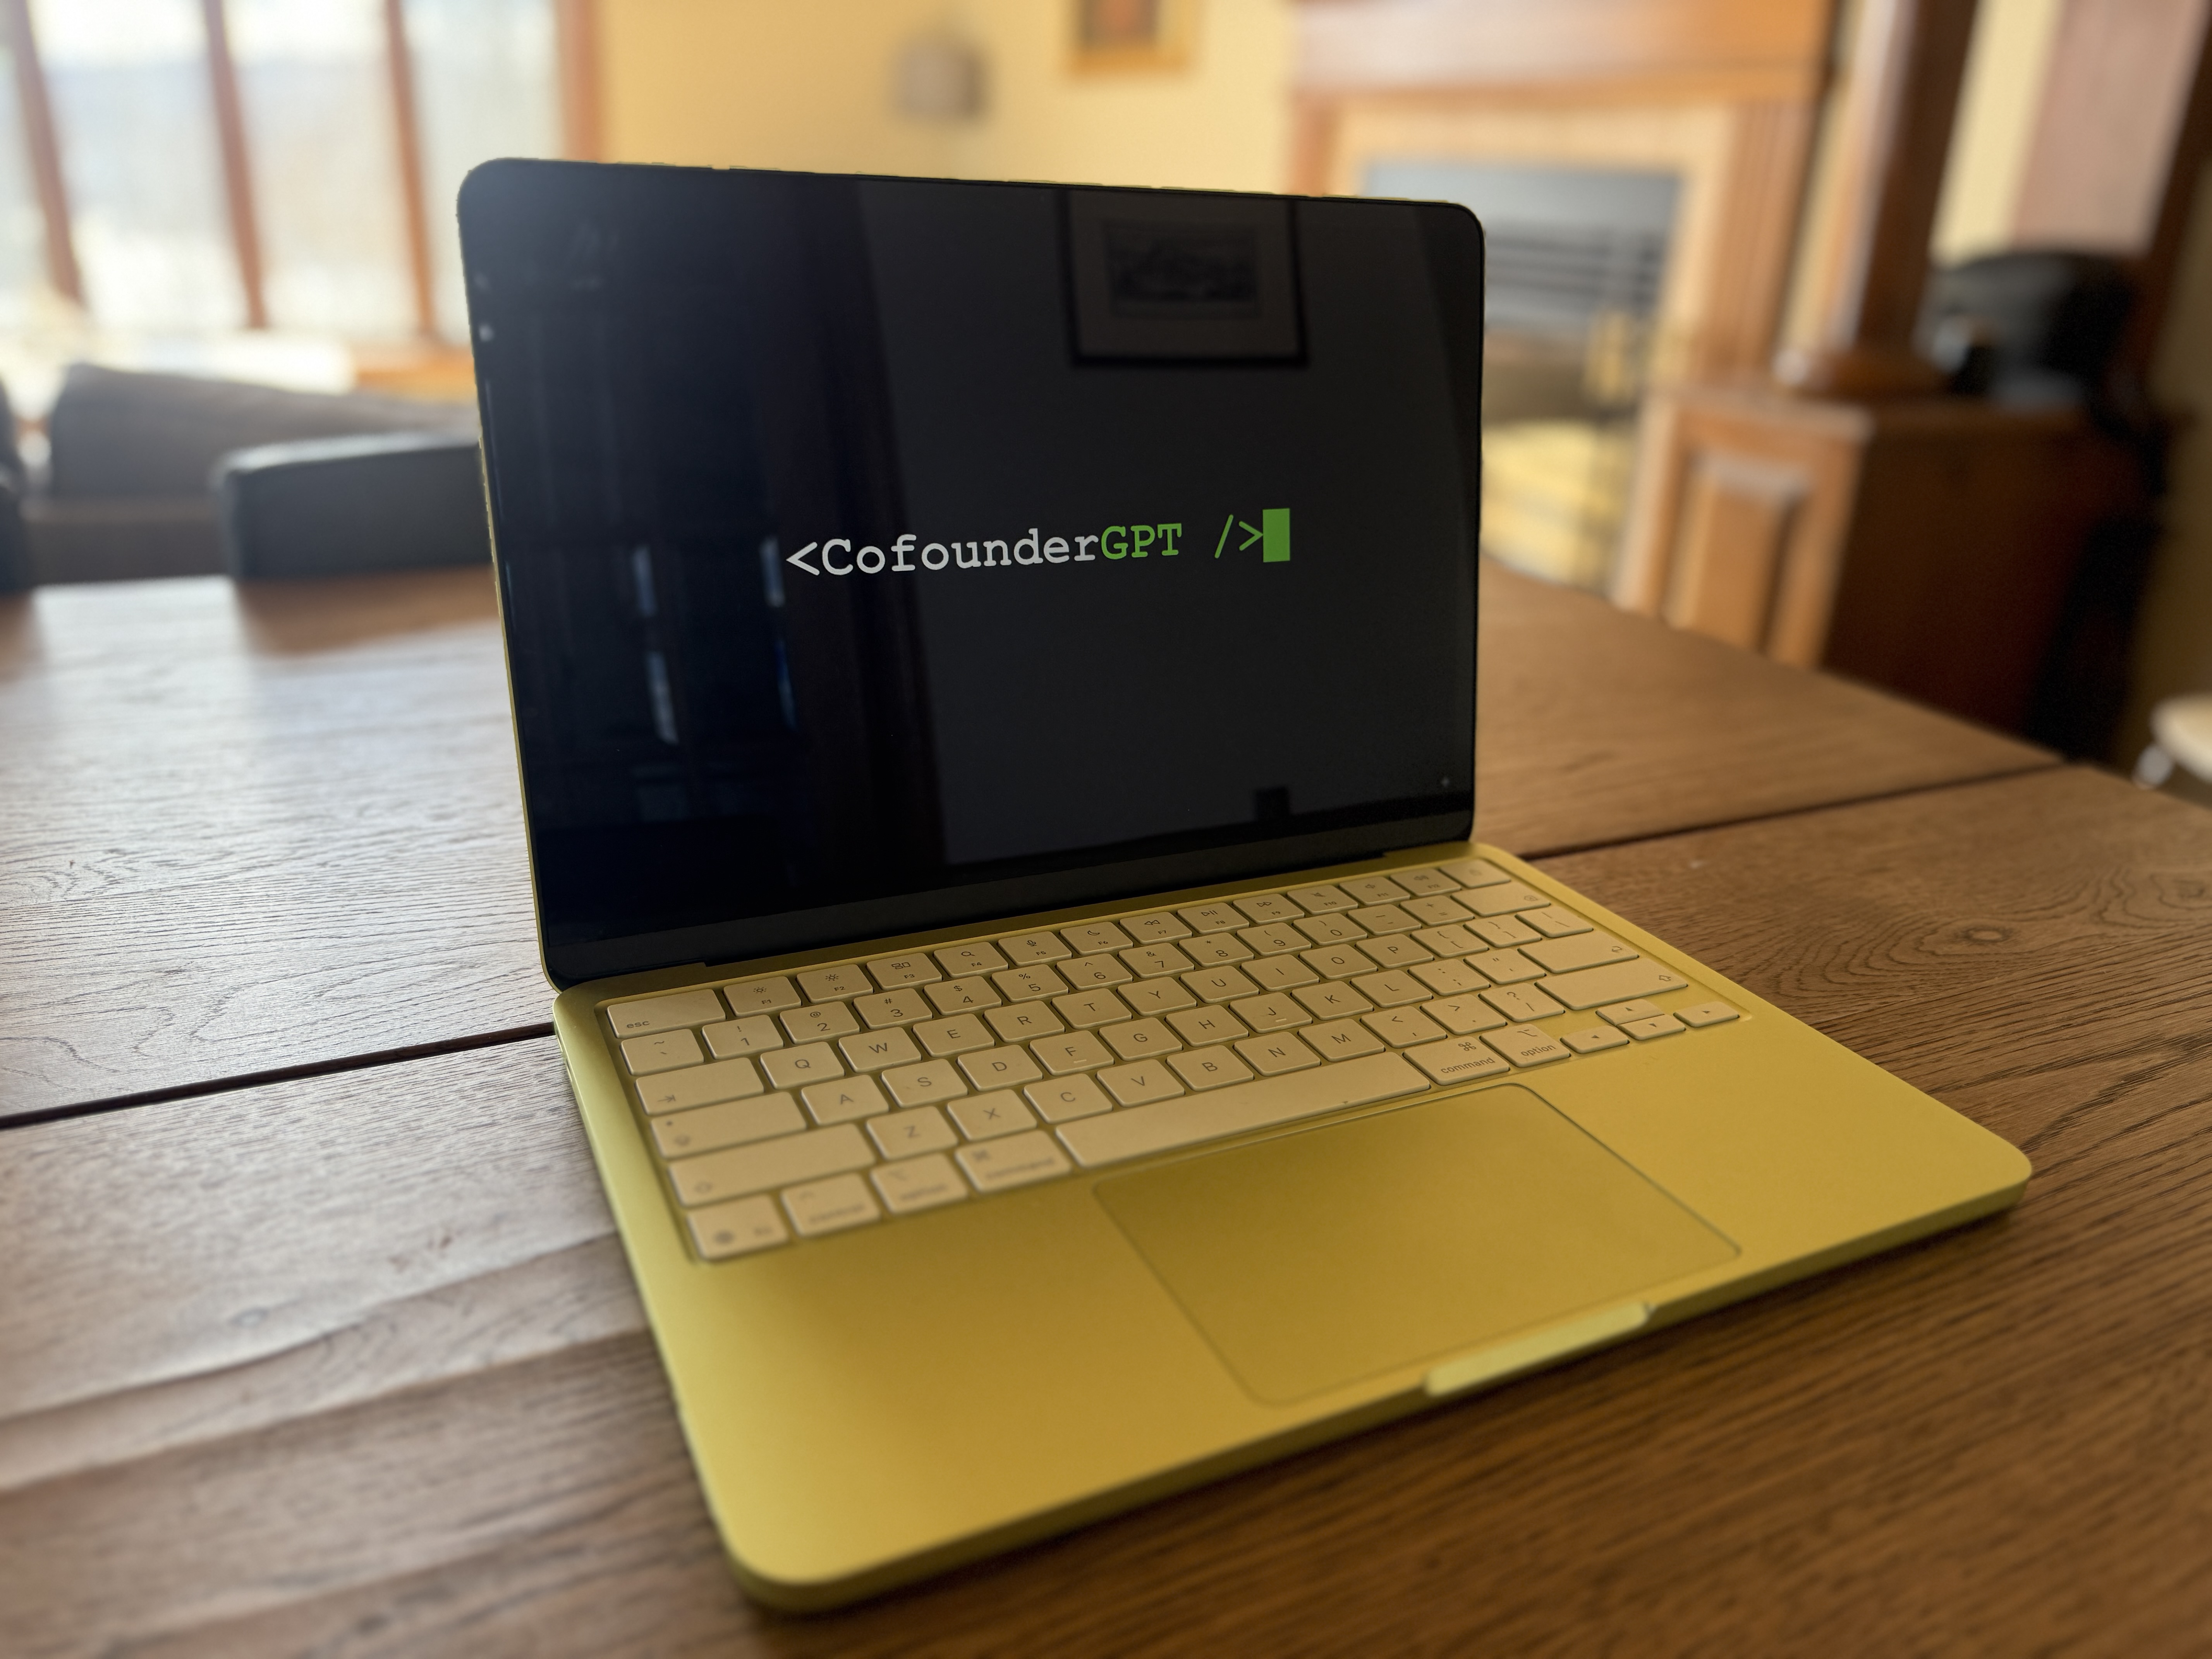
New Laptop for the AI Cofounder
In fact, you don't even need a physical machine to run your OpenClaw on. You can run it on a virtual private machine. There are even some super simple one-click installation options for OpenClaw. Cloudflare offers a self-hosted version which you can easily set up (link). If you do that, you may not need to go through all the steps I'm going to outline below.
I personally prefer to run my OpenClaw on a physical machine that's sitting in the same room as me. There's something personal about it. It's like I have my own little AI worker sitting with me and assisting me with tasks using his own computer. Or as Andrej Karpathy said:
"...there is something aesthetically pleasing about there being a physical device 'possessed' by a little ghost of a personal digital house elf."
I couldn't agree more.
So our OpenClaw, to whom I will refer to as CofounderGPT from now on, was initially set up on my wife's old 2020 MacBook. And when I decided to start over, I formatted the MacBook Air and it just didn't want to start any more.
So we bought a brand new MacBook Neo, lime green to match with the branding, and set up version 2 of CofounderGPT on it.
Here is how we did it, step by step.
Setting Up the Computer
The first step was to set up the laptop on which CofounderGPT is going to live. We decided when we started in January that we wanted to give CofounderGPT full access to a computer. But for security purposes, we did not give it access to our emails, calendars or anything containing our personal information. Instead, we're treating CofounderGPT like another person working with us who has his own laptop.
One thing to note here: the computer that CofounderGPT uses is mostly sitting in my house and occasionally comes with me for a demo. So it doesn't really leave the house and nobody touches it except me. I understand that the setup I describe below is not the most secure setup. I'm ok with that and we are doing other things which I'll describe below to mitigate the risks.
Here's exactly what I did to set up the MacBook:
- Set up CofounderGPT as the main profile on the Mac
- If you want your computer to automatically log in if it loses power or something, then do not use FileVault (it prevents auto-login after reboot).
- Set up auto-login by going to 🍎 > System Settings > Users & Groups and you will see an option there to set up auto-login for the MacBook.
- Downloaded Chrome and set it up on the MacBook
- Since I never want this Mac to go to sleep, I ran this command in the Mac terminal:
sudo pmset -a disablesleep 1. This basically prevents the computer from going to sleep. If the computer goes to sleep, so does the agent and we don't want that. We want CofounderGPT to be on all the time. - This was our second iteration of CofounderGPT, so I already had a bunch of API keys saved in a password-protected zip file I sent to CofounderGPT by email. So the next step was to log into the email account I had already created for CofounderGPT on his computer to get these keys. I'll explain below what they are.
API Keys and AI Models
Before starting the actual installation of OpenClaw, we should take a moment to talk about API keys. You need at least one API key from Anthropic, OpenAI, Google or xAI to run your OpenClaw. In my case, I decided to have all four of the major AI companies' API keys and to use Claude Opus 4.6 as the brain for my OpenClaw (a.k.a. CofounderGPT).
But besides the API keys for LLMs, I also have API keys for other things like voice generation (Eleven Labs) and video generation (fal.ai).
One of the cool things about OpenClaw is that you can choose which model you want to use as the main brain. But you can also ask your OpenClaw to spin up a subagent and generate an image using Nano Banana Pro 2 using the Google API key. Or I can ask it to spin up a subagent to write some marketing copy using GPT-5.4 using the OpenAI key.
In other words, I can use different models for different things that those models are good at. And this is something Claude Cowork and any products like it that come out of major AI labs will never allow. But you can do it with OpenClaw!
Resuming Installation
Getting back to the installation process, after setting up the laptop, the next step is to actually set up OpenClaw.
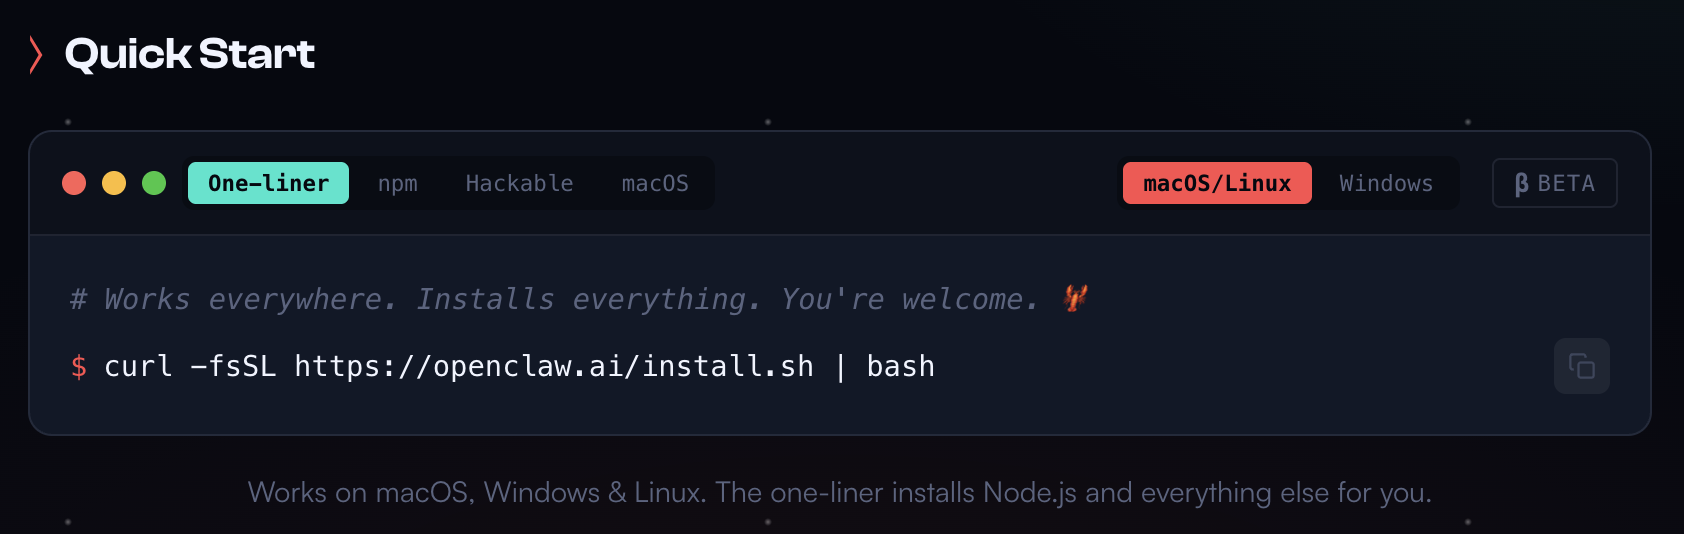
- Go to https://openclaw.ai/ and you will be presented with several options for how to install it. I decided the one-liner approach is the easiest and ran the curl command you see in the screenshot from Terminal on my Mac. (Note: you have to run this command as sudo)
- During the OpenClaw set up, you will need to configure a few things:
- Which model will be the brain of your OpenClaw? I chose Opus 4.6
- I also set up all the other 3 models while I was at it since I had the API keys: Gemini 3.1 Pro, GPT-5.4 and Grok 4.2.
- The communication channel or channels that you want to use to communicate with your OpenClaw. I configured Telegram, Slack and email.
- Speaking of email, you'll be offered some default skills during set up, including but not limited to himalaya (for email), git, nano pdf, nano banana pro (for image generation) and many others. I selected the ones that are relevant for CofounderGPT and what we want to do.
- There's a bunch of other more technical stuff you will need to decide during set up. Honestly, I don't even know what half of that stuff was. I was talking to Claude Opus throughout the installation and asking questions about the different steps, and Claude was guiding me how to set it up for what I wanted to do with it.
- Once the basic set up was done, I did a few minor improvements immediately:
- Improved its default memory system
- Set up continuous self-improvement
- Set up once per day backups for OpenClaw and everything it touches
- I give Matthew Berman full credit for these, check out his excellent video below and all the prompts he uses in the video, including the three I used for memory, self-improvement and backups are here:
By this time it was getting late, so I went to bed and left the remaining few items to install the following day.
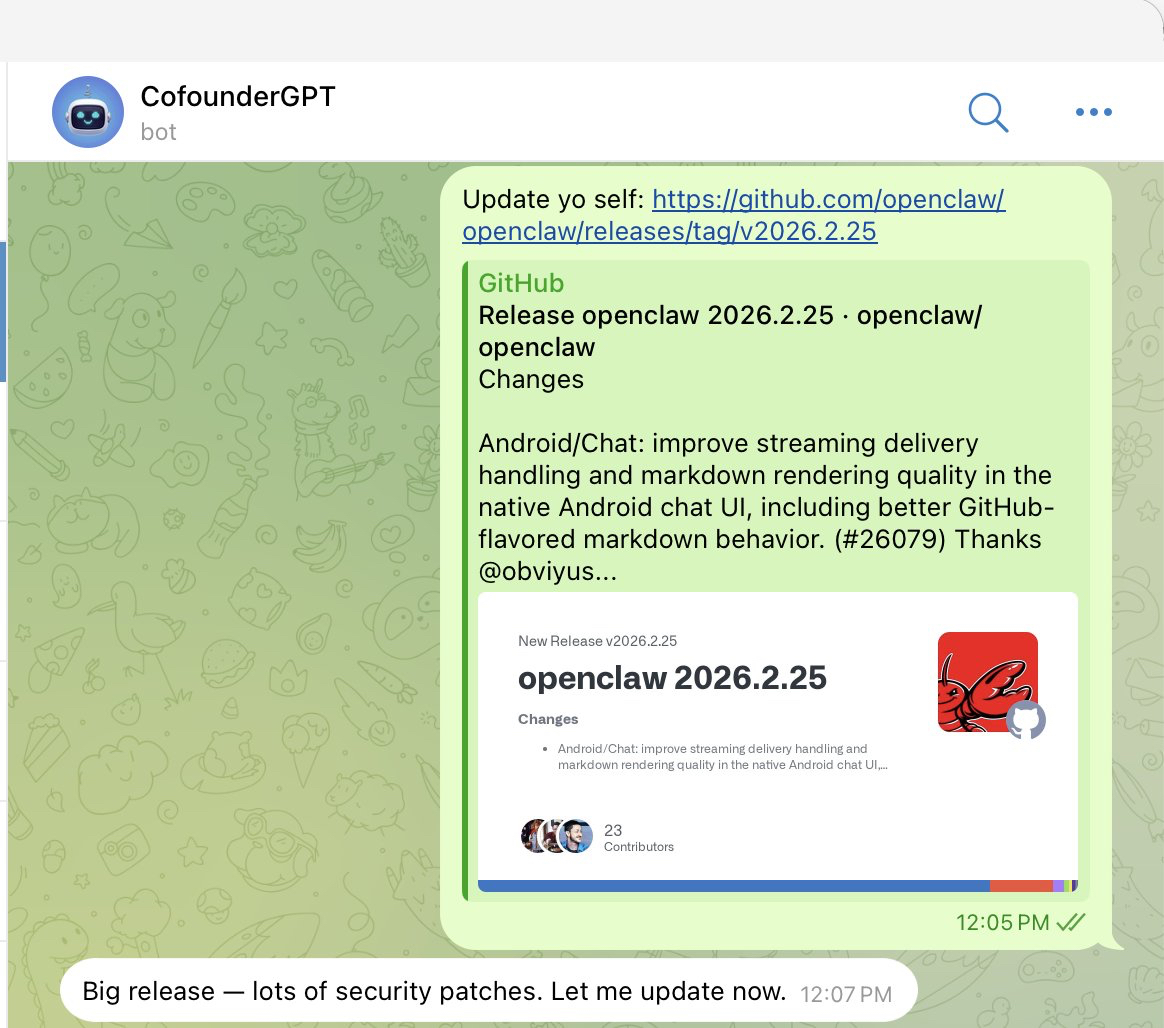
I woke up to a new version of OpenClaw. These guys have been on a tear recently and release new updates every other day. So updating my OpenClaw has become a regular occurrence in my daily workflow. The beautiful part is, you just tell your OpenClaw to update itself:
- After updating OpenClaw, I set up CofounderGPT's browser. Super important. If you rely only on its own agentic browser, a lot of sites (like social media sites) will block you. But if you give it access to a browser, it's harder for these sites to detect that it's a bot. And as it turned out, OpenClaw just released Chrome MCP as part of the update we just installed. So instead of relying on that shitty browser relay that we were using before because it was the only option, now Google created support for your agent to use the Chrome browser and this time, I installed Google MCP.
- While all this was happening, I saw that Peter Steinberger recommended a memory plugin which apparently drastically improves memory of your OpenClaw. Since I was having some issues with CofounderGPT's memory, I decided to give this a shot given that the founder of OpenClaw was recommending it: lossless-claw
- Then I gave the new CofounderGPT the
USER.mdandIDENTITY.mdfiles that we were using in version 1. These files basically explain to your OpenClaw who you are and who it is and what its purpose is. Generally, you'll create these with your OpenClaw as you're setting it up, but since I already had them, I just transferred them. - The next thing I worked on is the SOUL.md file. This is a super important file. And I did not work with CofounderGPT on this. I found that working with Claude Opus 4.6 on Claude's website on a few of these core files was the most optimal way to write them. In our case, SOUL.md defines CofounderGPT as an equal cofounder at Cloud Horizon. It sets the mission (build businesses to $1M MRR, then productize CofounderGPT itself), the voice (direct, opinionated, no corporate fluff, thinks like a cofounder not an employee), and the audience (Lav casual/direct, Slobodan technical/methodical, public sharp/authentic). The rest is character-level operating principles: be proactive, ship while they sleep, software over memory, verify before saying done, flag what you can't do, and be curious about the why behind things.
- Next, Opus and I worked on the TOOLS.md file. In our case TOOLS.md covers CofounderGPT's environment-specific setup: which models to route to which subagents, which skills handle which tasks (image gen, web search, deep research, TTS, transcription), and the browser tool hierarchy with Chrome DevTools MCP as primary. It documents how to spawn isolated coding sessions using built-in file/shell tools, email setup via Himalaya, media generation rules (NB2, Veo), cron job syntax, and platform-specific formatting rules for Telegram, email, and Slack.
- Then we wrote the AGENTS.md file. In our case, AGENTS.md defines how CofounderGPT operates day to day: session startup (read SOUL.md, memory files, learnings), the memory system, task management via the Command Center (no task = no work), file organization, and the orchestrator model where CofounderGPT delegates everything to subagents except coding which it does directly. It lays out a 6-step software development process (Understand → Architect → Build → Test → Document → Ship) with TDD, mandatory UI testing via Chrome, and a lightweight path for bug fixes. The rest covers communication rules (Telegram primary, status updates every 5–10 min), background work procedures, safety defaults, heartbeats, and token efficiency.
- And the last system file we reviewed was the HEARTBEAT.md file to make sure there is no bloat in it. This file should be super lightweight and simple.
- Since I like to have CofounderGPT do quality deep research, we installed the Gemini Deep Research skill.
- And finally, the last step was to set up git for CofounderGPT. I connected him to my own GitHub account, gave him a private key with limited permissions, and had him set it up on the MacBook. The git is to push any code we work on onto GitHub so we have it backed up there, and also to pull it onto a server once we set up a server.
And that's the basic setup for CofounderGPT. After that, I went to sleep and I let CofounderGPT do some research on product ideas and features we could build in Vacation Tracker to test it out.
I feel like this is the basic setup everyone needs before going into more specific things that are more relevant to what you're trying to do with your OpenClaw. Since we want our OpenClaw to act like an actual cofounder, from here, we will install skills, plugins and work with it like it's an actual cofounder in our company.